Article published at:
October 07, 2026
How to Troubleshoot & Fix Micro-bubbles
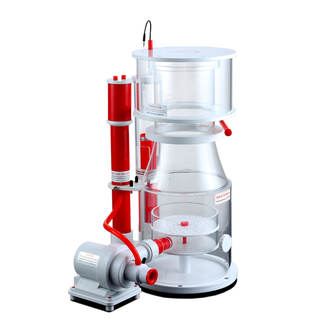
How to Fix Protein Skimmer Microbubbles: A Step-by-Step Troubleshooting Guide
In Part 1, we explained what microbubbles are and why they can appear in a protein skimmer.
Now it's time to fix the problem.
The key to troubleshooting micro-bubbles is not to change everything at once.
Instead, work through the following steps from the simplest and most common causes to the less obvious ones.
Step 1 — Is Your Skimmer New?
If you've recently installed a new protein skimmer, microbubbles may simply be part of the normal break-in process.
New skimmers can take approximately 3–14 days to stabilise as the internal surfaces develop a natural biological film.
What to do:
Let the skimmer run continuously.
Avoid constantly changing the pump speed, water level and outlet adjustment during this period.
Give the skimmer time to settle.
Step 2 — Check the Water Depth
The next thing to check is the water depth in the sump.
Your skimmer should operate within the manufacturer's recommended water depth.
Many models operate somewhere around 18–22 cm, but the correct depth varies between models.
Step 3 — Check the Skimmer Adjustment
If the skimmer is running too "wet," the internal water level may be too high.
This can cause excessive bubbles and water to escape through the outlet.
Try this:
Gradually lower the internal water level.
Depending on your skimmer, this may be achieved by:
Opening the outlet
Adjusting the water-level control
Reducing the pump speed on a DC skimmer
Make small adjustments.
Then wait and observe the skimmer before making another change.
Step 4 — Inspect and Clean the Skimmer
If the skimmer has been running for some time, inspect the internal components.
Salt creep, algae, calcium deposits and debris can restrict or alter water flow.
Check:
✓ Outlet pipe
✓ Bubble plate
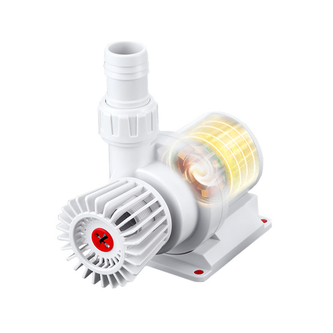
✓ Pump
✓ Impeller
✓ Venturi fitting
✓ Air intake
✓ Air hose
Clean any buildup or debris according to the manufacturer's maintenance recommendations.
A clean skimmer will generally provide more predictable water and air flow.
Step 5 — Think About What You Recently Added
Ask yourself:
"Did I recently add anything to the aquarium?"
Products such as:
Coral food
Bacterial supplements
Water conditioners
Epoxy
Medications
Other aquarium treatments
can temporarily change the surface tension of the water and cause the skimmer to produce excessive foam or microbubbles.
What should you do?
If the aquarium is otherwise operating normally, give the system some time to stabilise.
In many cases, the effect will reduce naturally within approximately 24–48 hours.
Avoid making major skimmer adjustments immediately unless another problem is clearly present.
Step 6 — Check the Water Flow Around the Skimmer
If the skimmer itself appears to be operating correctly, look at the surrounding sump.
The problem may not be the skimmer.
If the return pump is positioned too close to the skimmer outlet, it may draw microbubbles directly into the return line.
Those bubbles can then travel into the display aquarium.
Possible solutions:
Increase the distance between the skimmer outlet and return pump.
Or consider:
Adding a bubble trap
Repositioning the skimmer
Repositioning the return pump intake
Adding suitable mechanical filtration
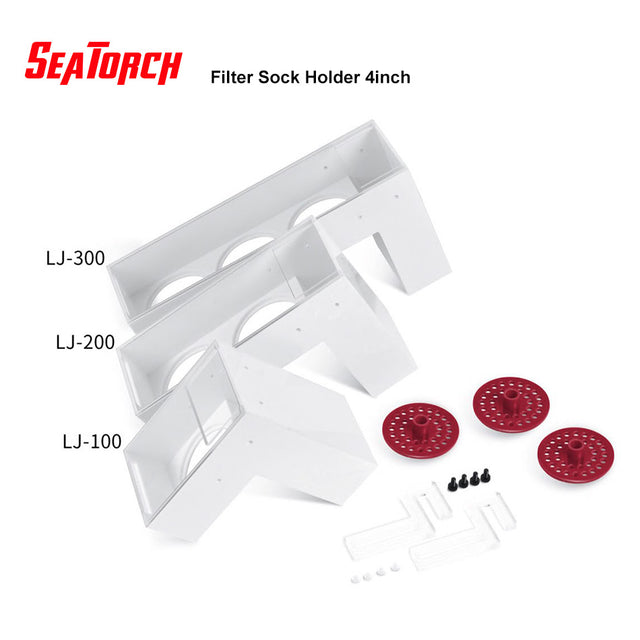
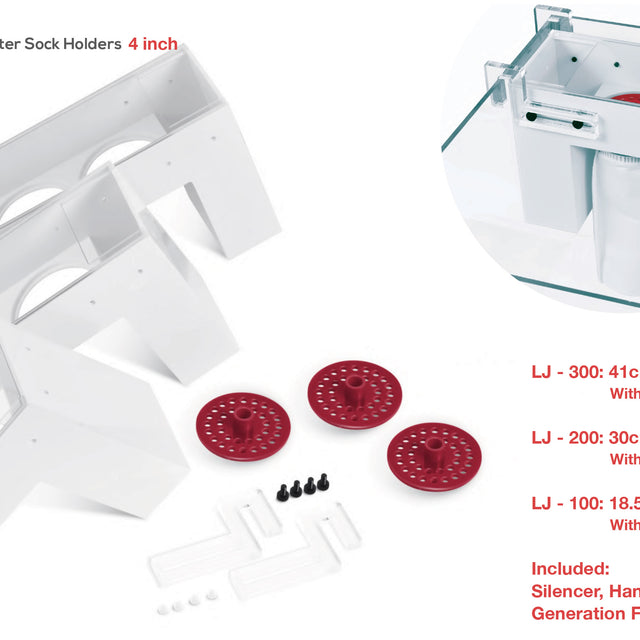
Using filter floss or filter socks where appropriate
Step 7 — Check for an Air Leak
If microbubbles remain after checking the previous steps, inspect the pump and air intake system for leaks.
A loose connection or damaged O-ring can allow air to enter through an unintended point.
Check:
Pump connections
Venturi fitting
Air hose
Unions
O-rings
Pump housing
Threaded connections
Make sure everything is properly seated and sealed.
If an O-ring is damaged, replace it rather than trying to compensate by constantly adjusting the skimmer.
Microbubbles are a normal part of protein skimming — but excessive microbubbles entering your display aquarium usually mean that something needs attention. With the correct water depth, stable adjustment, clean components and appropriate sump flow, most microbubble problems can be significantly reduced.
Thank you for reading.
Read article